
As a passionate gardener, I believe that the key to a successful garden lies in its foundation. And one foundational aspect of any garden that can’t be ignored is the arrangement of garden rows. Let’s dive in to understand how to make rows in a garden and explore the benefits it brings.
Making Rows in a Garden
From my perspective, garden rows are essential for a number of reasons. Firstly, rows provide your plants with better air circulation and soil drainage. These factors can boost the overall health and yield of your garden. I believe that rows can also help with pest control and spring soil warming. And of course, it simplifies weeding and irrigation, making your gardening tasks a breeze.
Essential Tools You’ll Require
To create garden rows, you won’t need a lot of fancy tools. A simple garden hoe, an iconic cultivating tool, can be your best friend here. Garden hoes are designed to help in cultivating, tilling, and loosening soil. Plus, they’re great for marking your rows!
How to Make Rows in a Garden with a Hoe ?
Here are these following steps:
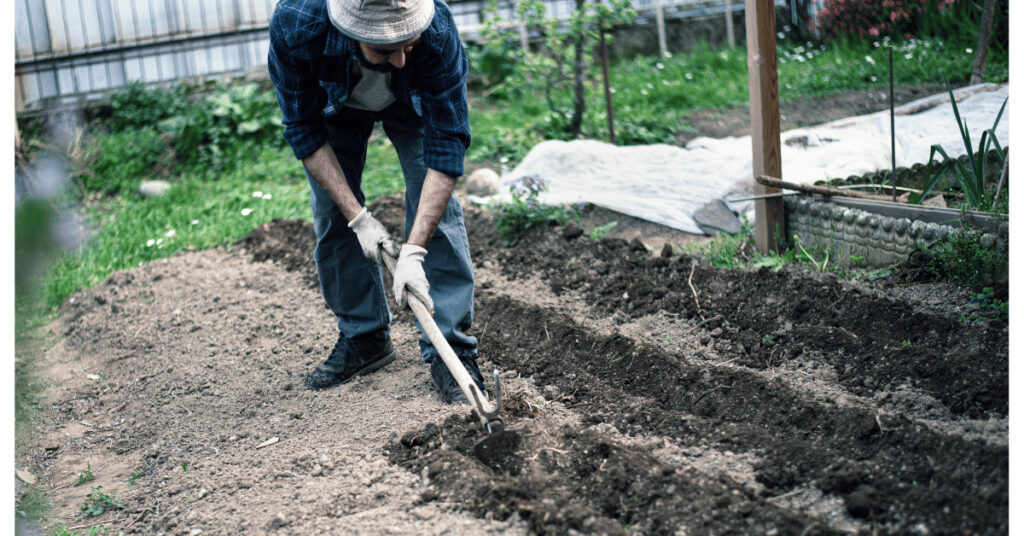
- Step 1– As per my perspective, the first stage involves adequately preparing the soil. It is crucial to clear the ground of any weeds, stones, or other obstacles to plow a garden. Moreover, ensuring that the soil is moist and enriched with nutrients is essential for promoting healthy root development.
- Step 2– Marking Garden Rows: Depending on the type of plants you’re going to plant, spacing is crucial. Mark out your garden rows considering the space needed for plant growth, sunlight, and water access. Remember, different plants require different spacing.
- Step 3– Hoeing Garden Rows: Now, take your hoe and start making rows. The process involves making furrows or planting trenches in the soil. As far as I’m concerned, the depth and width of these furrows will depend on what you’re planning to plant.
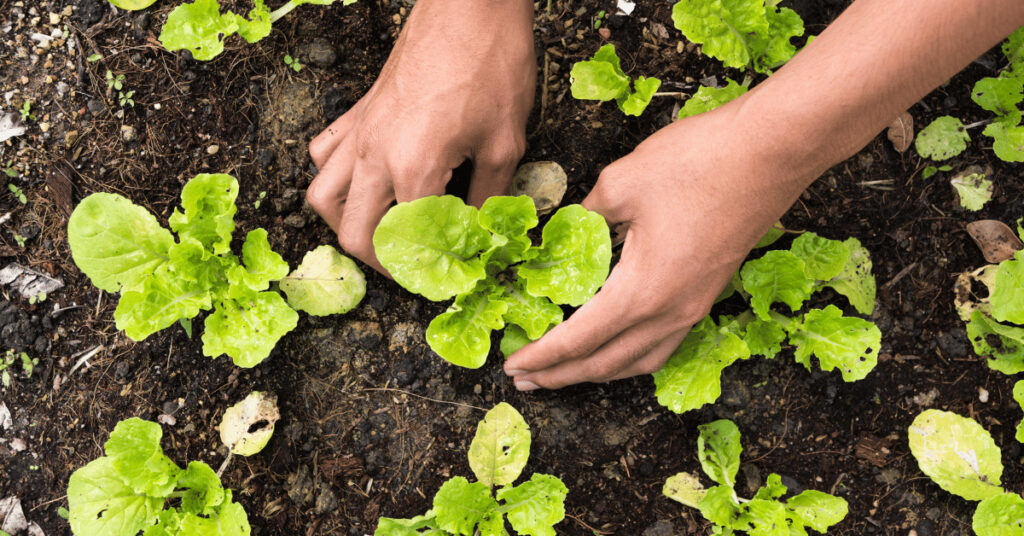
- Step 4– Planting: With your rows ready, it’s time for planting. Whether you’re doing single row planting or wide row planting, always ensure proper spacing for optimal growth.
How to Make Rows in a Garden by Hand ?
Step by step ways to make garden rows by hand :
- Prepare the Area: Proper soil preparation is the first step. and make sure the soil doesn’t have any weeds, rocks, or other trash in it.
- Marking Garden Rows: Mark out your garden rows considering the space needed for plant growth, sunlight, and water access.
- Hoeing Garden Rows: Use your hoe to make furrows in the soil. The depth and width of these furrows will depend on what you’re planting.
- Planting: With your rows ready, it’s time for planting. Always ensure proper spacing for optimal growth.
How to Make Rows in a Garden with a Tiller ?
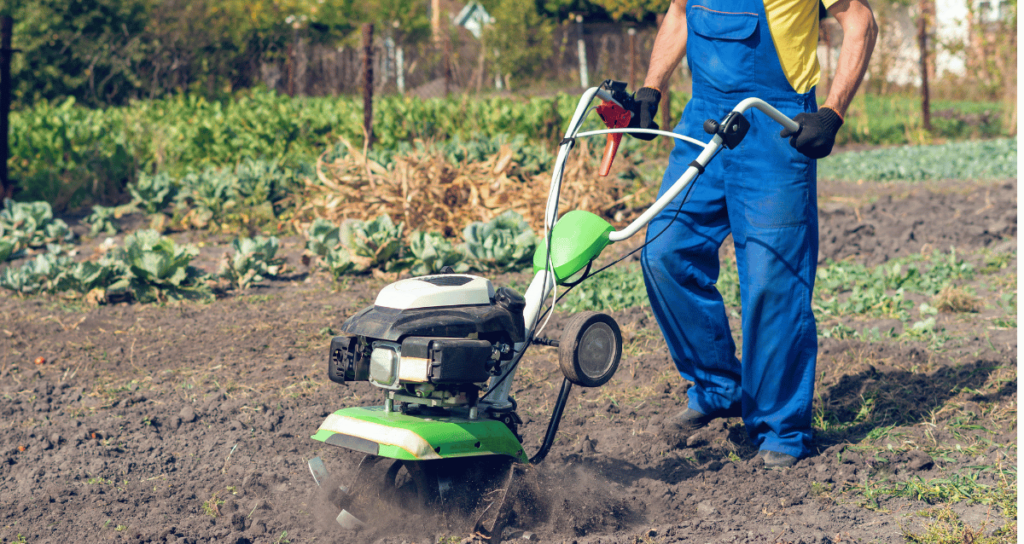
Using a tiller can streamline the process, especially for larger gardens. Follow these steps:
- A -Mark the Rows: Begin by staking and marking out the rows with the help of string lines.
- B -Use the Tiller: Guide the tiller along the marked lines, allowing it to break up the soil and create the garden rows efficiently.
How to Make Rows in a Garden with a Tractor ?

For larger-scale gardening, a tractor can be beneficial. Follow these steps:
- 1 -Attach a Row Maker: Fix a row maker to your tractor to assist with creating the rows.
- 2 -Mark the Rows: Use the tractor and row maker to mark out your garden rows.
- 3 -Let the Tractor Work: Allow the tractor to do the heavy work of establishing the rows efficiently.
Raised Garden Rows Vs. Flat Garden Rows ( Difference)
Raised garden rows or raised beds are essentially a step above your typical flat garden rows. They offer a number of advantages such as improved soil structure and drainage, and better control over pests. Personally, I think raised rows are fantastic if you’re dealing with issues like poor soil quality or if you want to make your garden more accessible.
On the other hand, I prefer flat garden rows because they follow the traditional approach, even though they might require more effort. However, I find them more budget-friendly and simpler to set up, and they can work just as well as raised rows if I do everything right.
Watch Video to Know More About Making Rows in a Garden
FAQS – How to Make Rows in a Garden
How to make garden rows with a shovel ?
Steps to make garden rows with a shovel
A-Begin by measuring and marking the intended row positions in your garden.
B-Utilize a shovel to carefully create shallow trenches following the marked lines.
C-Aim for straight rows with consistent spacing, allowing for efficient planting without copying from others.
How to make furrows in a garden ?
To create furrows in a garden, utilize a hoe or furrower tool. Employ the tool to create shallow trenches on the soil’s surface, providing ideal spaces for planting seeds or young plants. Ensure appropriate spacing between furrows to accommodate the selected crops uniquely.
What are the best garden rows?
The best garden rows are straight, evenly spaced, and oriented to maximize sunlight exposure for plants. They facilitate efficient gardening practices and ensure optimal growth and maintenance.
How do you make straight rows?
A-Use a ruler or straight edge as a guide.
B-Ensure even spacing between items or elements.
C-Maintain consistent alignment and position while creating the rows.
Advantages of Garden Rows
Finally, let’s talk benefits of make rows in a garden. There’s no denying that making garden rows, whether raised or flat, comes with a whole host of advantages. They’re good for the soil, great for plant growth, and can even save on watering. Plus, it gives your garden a neat, organized look. It’s a win-win from every perspective.
To conclude ,I believe that making garden rows is an essential step in setting up any garden. It might take some time and effort, but the benefits it offers are immense. So, grab your hoe and start marking those rows. Your garden will thank you for it!